RC Home | How To | GPV-1 Nylon Crash Bar Upgrade
RC How To:
GPV-1 Nylon Crash Bar Upgrade
The stock metal crash bars that come with the bike seem to grab the road pretty hard when I would hit it. And learning to drive this, I was doing that a lot. So this is one of the first upgrades that I did.
I started with FMP's Scratch Bar set for the GPV-1 from 2Wheelhobbies.com, a very cool online hobby shop that specializes in R/C bikes of all kinds. I apparently ordered the last set they had as well as extra nylon rods which can go quick when you drive like me.
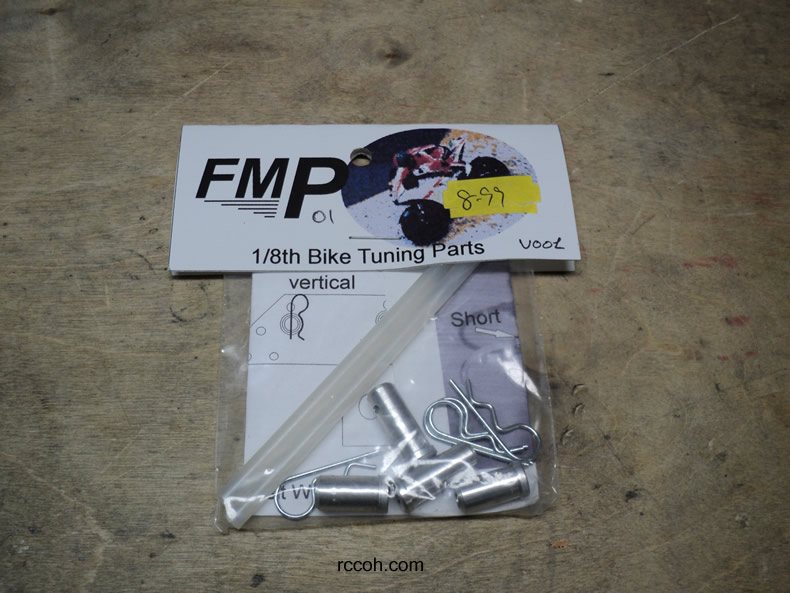
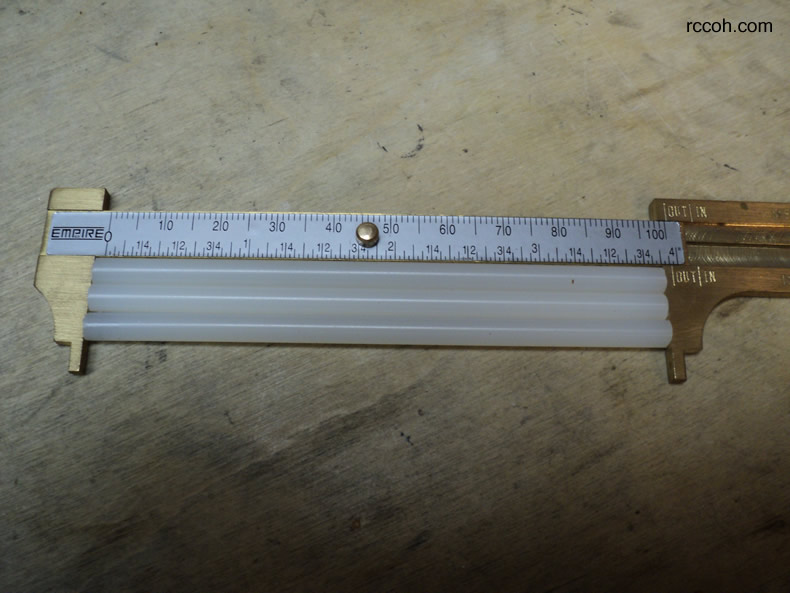
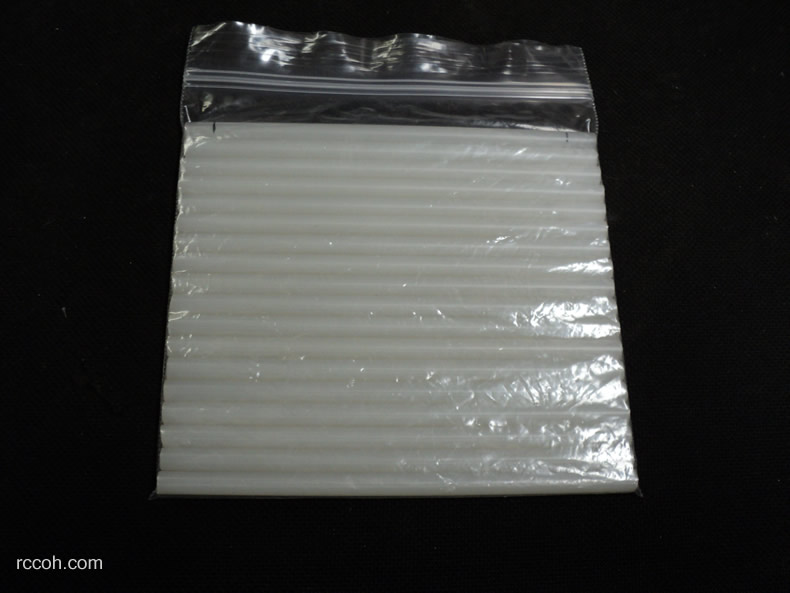
The original bars were 4mm x 100mm and wore out quick as mentioned. I had trouble finding 4mm nylon rod (at least in the U.S.) so I decided to go with a slightly larger diameter. I went with 3/16" nylon 6/6 rods from McMaster-Carr @ $0.35 per foot. This stuff has excellent tensile strength and being larger should last longer.
I cut them in links of 100mm. This length can be increased but will inhibit the leaning ability of the motorcycle.
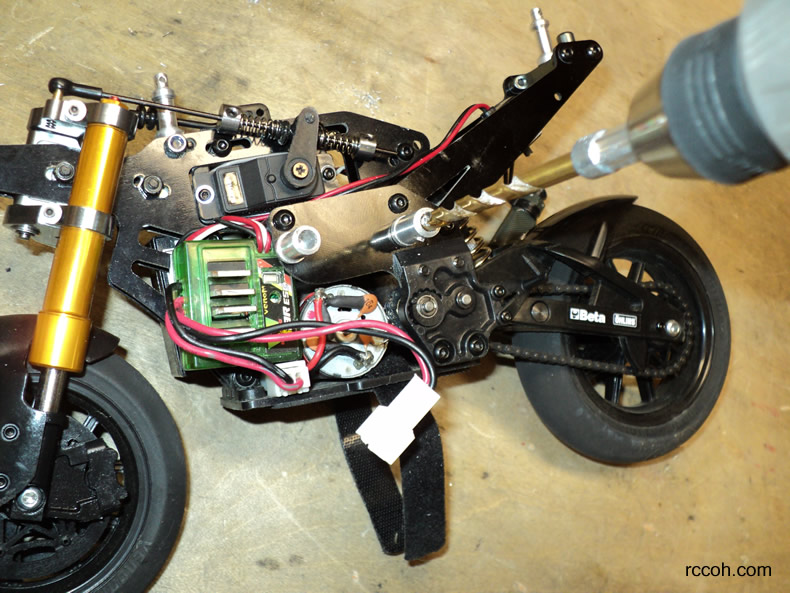
Drilling these out is simple and I did it without removing them from the bike. I simply drilled out the holes with a 3/16" bit and then worked the sides a little so the 3/16" rods could slide in.
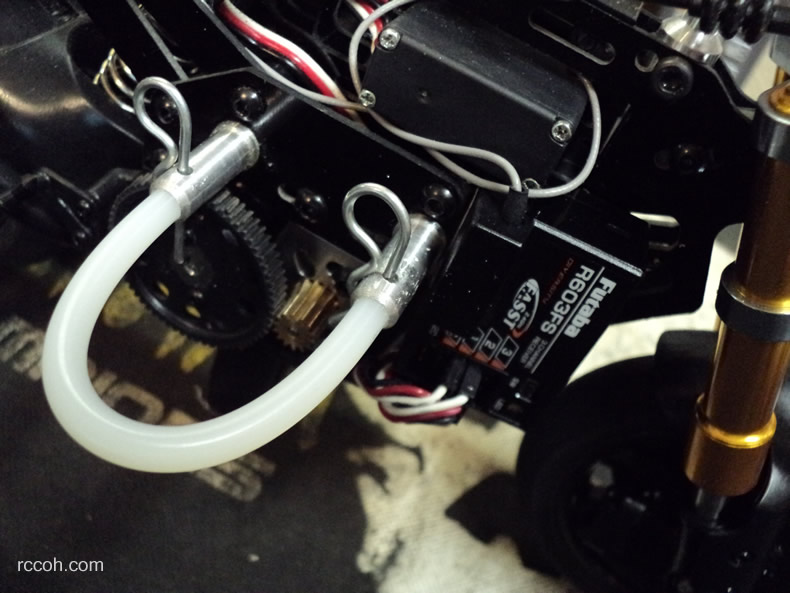
It's a nice tight fit and actually works without the pins, but I drilled out the holes with a 5/64" bit to allow 1:8 scale body pins. Works great and these will last longer than the 4mm FMP ones.
I cut a bunch of links from the rod. They are 5ft each, so cutting the links at 4 inches, I have plenty to last a long time. Maybe one day I'll be able to drive with out them.
Whipnet's GPV-1 <--
Terms of Use 2009-2019