RC Home | How To | Fix a Cracked Lexan Body
RC How To:
Fix a Cracked Lexan Body
Whether you bash hard or just have an RC buddy that likes to play smash up derby every time you drive your RC, chances are you going to get cracks in your lid. Once a crack starts, there is no stopping until a piece of the body finally tears away.
Bodies are not cheap. Once you buy the paint and masking, they can cost $50 and up. There is something you can do to help if you notice a tear starting.
Materials needed:
Drill bits of various sizes
Drywall tape
Amazing Goop / Shoe Goo / E6000
First thing is to find the crack where it starts and where it ends. Make sure to clean the area really well where you will be repairing. I normally just give the entire body a good cleaning so everything will stick.
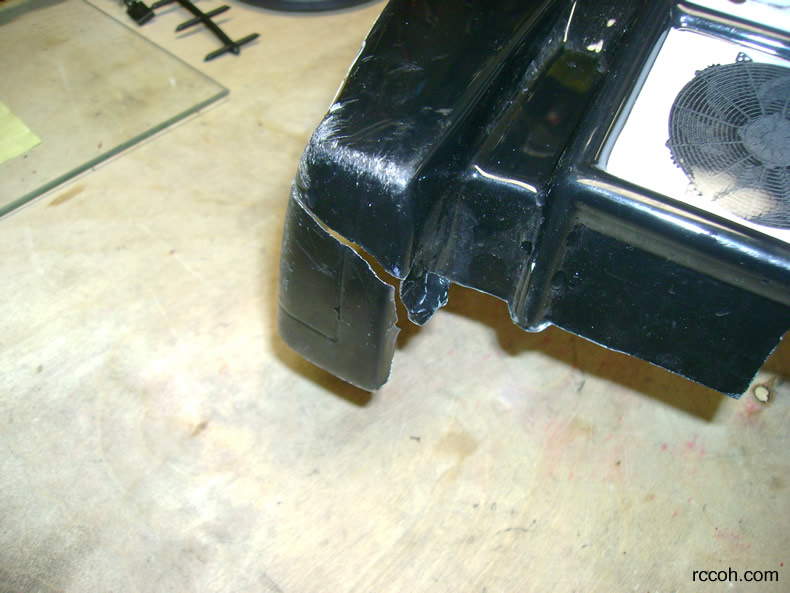
I trim off any pieces that have been banging the chassis so it will clear to avoid further stress.
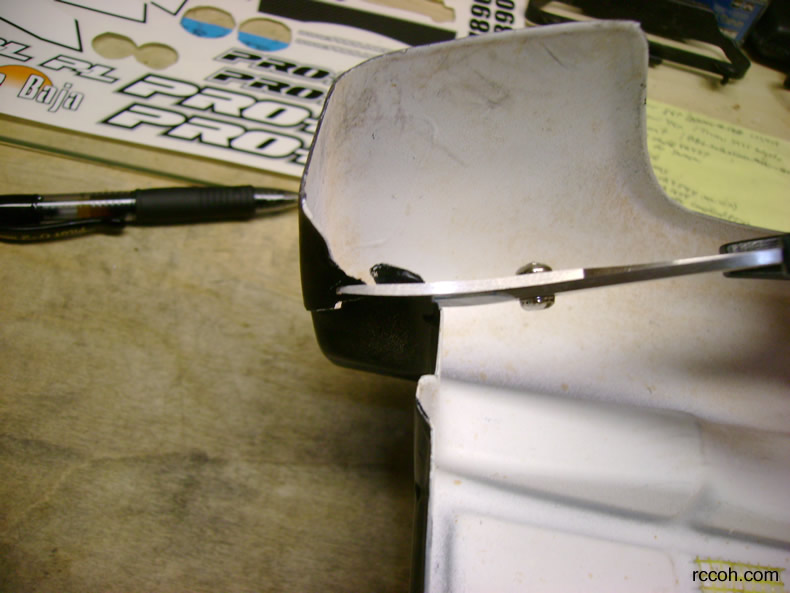
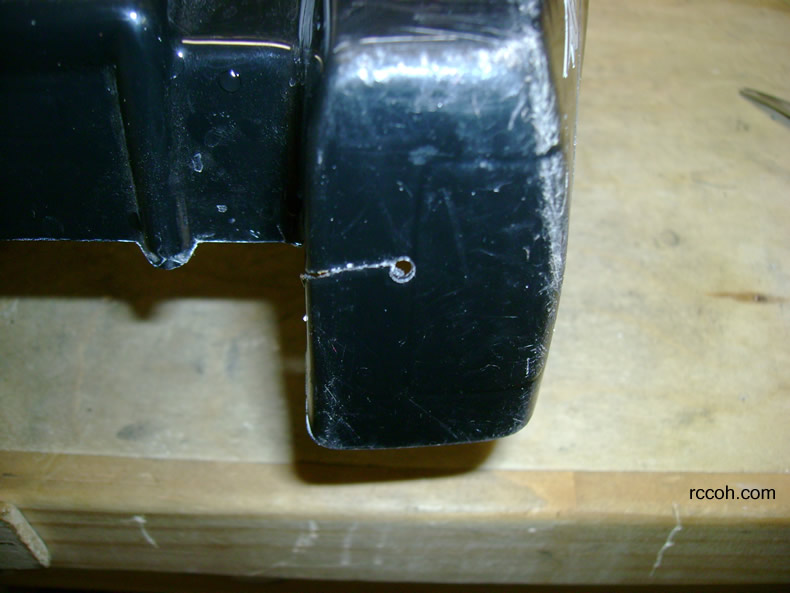
Now you'll want to find the end of the crack and drill a hole there with a drill bit.

It should look something like this when you are done.
Terms of Use 2009-2019